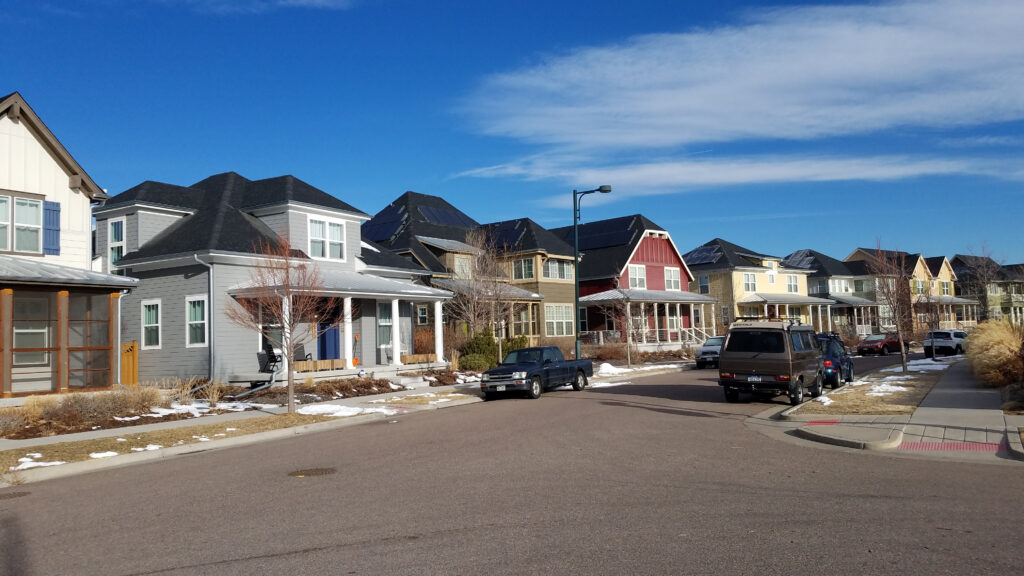
Icicles hanging from your eaves may look picturesque, but they signal a serious and costly problem: the ice dam. In the Denver Metro area, where temperatures swing wildly—from a warm, sunny 40°F during the day to a freezing 10°F at night—ice dams are an annual threat.
An ice dam is a ridge of solid ice that forms along the edge of your roof, preventing melting snow from draining off. This trapped water then backs up under the shingles, leading to severe and expensive damage inside your home.
This comprehensive guide focuses on the permanent, proven solution for how to prevent ice dams: addressing the root cause through professional and effective roof system upgrades.
What are Ice Dams and What Causes Them?
Ice dams are not caused by heavy snow or lack of sunlight; they are fundamentally a heat management problem.
The formation of an ice dam relies on a destructive cycle:
- Heat Escape (The Warm Roof): Warm air from inside your home leaks into the attic through unsealed gaps (like those around chimneys, vents, and light fixtures). This warm air heats the main roof deck.
- Melt: The heated roof deck melts the snow lying directly above it, even if the outdoor temperature is below freezing.
- Refreeze (The Dam): The melted water runs down the roof slope until it reaches the eave (the overhang). The eave is colder because it extends beyond the exterior wall and is not heated by the attic air. When the water hits this freezing edge, it refreezes, forming a barrier of ice—the dam.
- Water Backup: As more snow melts, the water pools behind this ice dam. This water, unable to drain, slowly forces its way under your shingles, ultimately leaking into your attic, ceiling, and walls.
The result is costly interior damage, including sagging drywall, ruined insulation, and mold growth. Keep reading to find out how to prevent ice dams and save you thousands.
Why is it Important to Know How to Prevent Ice Dams?
In addition to the obvious ceiling leaks, ice dams threaten your home and your budget. Here are some more reasons to know how to prevent ice dams:
- Structural Damage: The sheer weight of a large ice dam—which can hold hundreds of pounds of water and ice—can strain and damage your gutters, pulling them away from the fascia.
- Insulation Failure: When water backs up into your attic, it saturates your insulation. Wet insulation loses nearly all of its R-value (its ability to resist heat flow), leading to a less energy-efficient home and higher heating bills.
- Mold and Mildew: Water intrusion creates the perfect damp environment for mold, which can rapidly spread and compromise the air quality inside your home.
- Warranty Voidance: If a leak is determined to be caused by water backing up due to an ice dam, your standard shingle warranty may not cover the damage.
The cost of permanently fixing a few hundred dollars’ worth of insulation and ventilation issues is always less than the cost of water damage, which can run into thousands of dollars for drywall, paint, and mold remediation.
Here’s Our Guide on How to Prevent Ice Dams
The long-term, professional strategy on how to prevent ice dams in Denver is known as the “Cold Roof” approach. This is achieved through three non-negotiable pillars of a healthy attic system.

Pillar 1: Insulation (The Heat Barrier)
The primary goal is to create a thick thermal barrier between your living space and your attic.
- Action: Add or upgrade your existing attic insulation to the current recommended R-value for our cold climate, which is typically R-38 to R-60. The insulation layer should be thick enough to prevent rising heat from reaching the roof deck.
- Why it works: If the roof deck stays cold, the snow stays frozen, and the melt-and-refreeze cycle cannot begin.
Pillar 2: Air Sealing (Closing the Gaps)
This is arguably the most overlooked—and most critical—step. Insulation only slows heat transfer; air sealing stops warm air from bypassing insulation altogether.
- Action: Systematically seal all penetrations between the ceiling and the attic floor using caulk, weather stripping, or expanding spray foam. Key areas include:
- Around electrical wiring and plumbing vents.
- Holes where ceiling light fixtures (especially recessed cans) meet the drywall.
- Around the chimney chase and flue pipe.
- The perimeter of the attic access hatch or folding stairs.
- Why it works: Stops the concentrated plumes of warm air that cause rapid, uneven melting of snow on the roof spots directly above the leak.
Pillar 3: Ventilation (The Air Flush)
The attic is not a storage unit; it is a thermal buffer. Any small amount of warm air that enters must be flushed out before it can heat the roof deck.
- Action: Ensure a balanced ventilation system with equal parts intake and exhaust.
- Intake: Air must flow freely from under the eaves (soffit vents). Use baffles to keep insulation from blocking these vents.
- Exhaust: Warm air must exit at the roof’s peak (ridge vents or box vents).
- Why it works: Creates a continuous flow of cold air across the underside of the roof deck, keeping the entire roof cold and uniform.
Quick Fixes and Seasonal Maintenance
While the three pillars are the permanent solutions, you can take immediate action to mitigate existing problems or reduce risk during a heavy snowfall.
- Gutter Maintenance: Thoroughly clean all debris from your gutters and downspouts in late fall. Clogged gutters trap water and provide a ready-made base for a dam to form.
- Snow Removal: After a heavy Denver snowfall, use a long-handled roof rake (from the safety of the ground, never from a ladder or the roof!) to pull the bottom three to four feet of snow off the eaves. This removes the “fuel” for the ice dam before it has a chance to melt and refreeze.
- Temporary Deicing: If a small dam has already formed, place a tube sock or nylon stocking filled with calcium chloride (never rock salt, which damages shingles) across the dam. This creates a small channel for the water to drain through.
What to Do if You Have a Persistent Ice Dam Problem
If you have tried the seasonal maintenance and still experience recurring ice dams, it’s a sign that your home has a structural problem that needs professional assessment.
Professional Mitigation Solutions
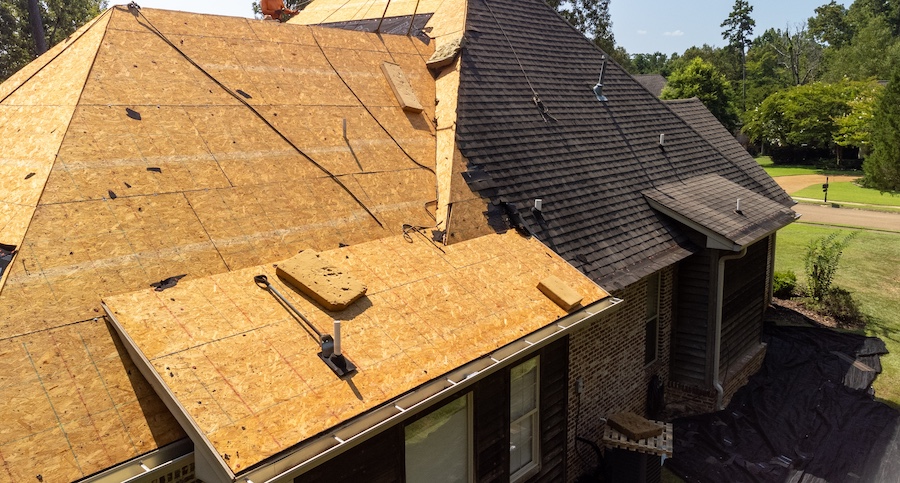
- Ice and Water Shield: If you are due for a roof replacement, Ice and Water Shield is a synthetic, rubberized underlayment that is installed under the shingles along the eaves and in valleys. While it doesn’t prevent the dam, it forms a waterproof seal around nails and staples to prevent water from penetrating the roof deck if water backs up.
- Heated Roof Cables: Properly installed heated roof cables (or heat tape) placed in a zig-zag pattern along the eaves or in valleys can be a reliable mitigation measure for specific problem spots, such as areas above unheated garages or dormers. These are not a substitute for proper insulation and ventilation, but they can effectively melt a drainage path.
When to Call Your Local Denver Roofing Company
- Active Leaks: If water is actively leaking into your attic or dripping from the ceiling.
- Massive Ice Dams: If the ice dam is larger than a few inches high. Never try to chip away a large ice dam yourself; this can severely damage your shingles and is extremely dangerous due to falling ice and electrocution risk if cables are present.
- System Inspection: If you need a professional to assess your attic’s current insulation R-value, ventilation balance, and air sealing integrity.
Don’t Let Ice Dams Cost You Thousands
Your roof system is designed to shed water, not hold it. In a climate as tough as Denver’s, relying on temporary fixes is a gamble that rarely pays off. The cost of preventing ice dams by upgrading your insulation and ventilation is significantly less than the cost of repairing the damage they inevitably cause to your interior, including ceilings, walls, and potential mold remediation.
Invest in your home’s envelope this season. Contact Mile Hi Roofing today for a professional inspection of your attic’s insulation and ventilation system to permanently solve your ice dam problem!